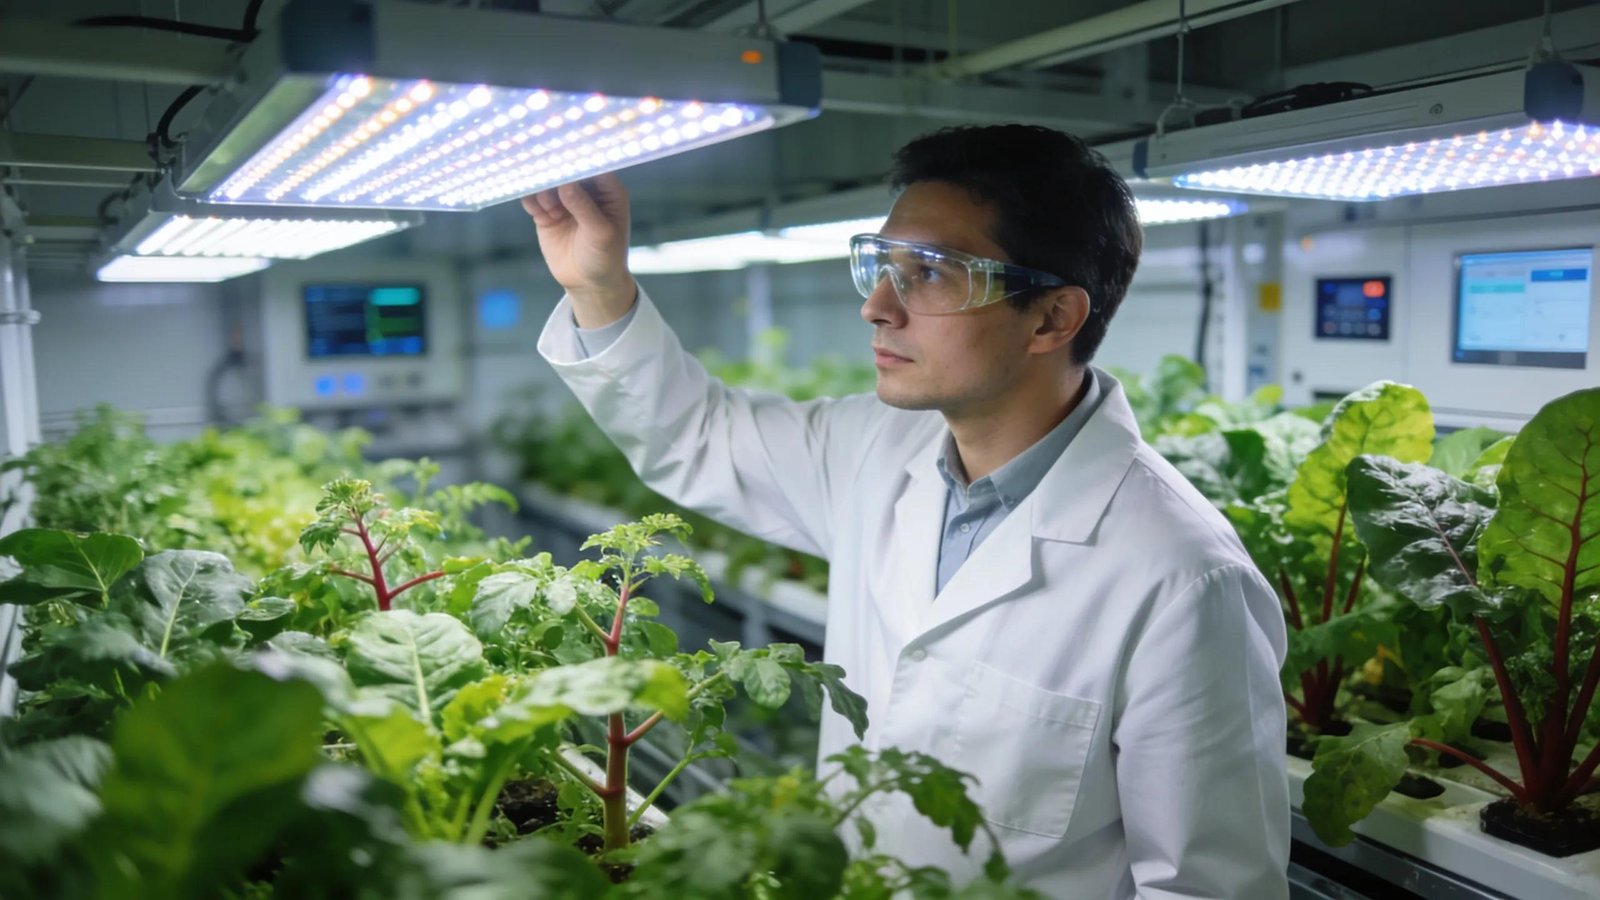
Professional LED Grow Lights: A Commercial Buyer’s Guide
Compare PPF, PPE, PPFD, controls, certifications and operating costs to choose professional LED grow lights for commercial cultivation.

Commercial grow room lighting design converts a crop requirement into a measured canopy-level result. Fixture wattage alone cannot define the layout. A professional plan must connect canopy dimensions, PPFD and daily light integral (DLI), mounting height, fixture overlap, edge falloff, controls, electrical capacity and environmental load. This guide provides a practical workflow for designing and commissioning a high-performance indoor cultivation system without relying on a universal spacing formula.
Start with the production surface, not the room’s wall-to-wall area. Document the planted canopy length and width, aisles, benches, rack tiers, structural obstructions and the finished plant height. Then record crop and growth stage, photoperiod, target DLI or PPFD range, available mounting distance, background sunlight, planned dimming range and environmental limits.
Crop targets should come from a qualified cultivation plan or reliable crop-specific research. Do not copy one PPFD target from another facility without matching its cultivar, CO₂ strategy, temperature, irrigation, nutrients and photoperiod.
PPFD measures the photosynthetic photons arriving on each square meter of canopy per second. A useful map identifies the test area, mounting height, grid spacing and readings at the center, edges and corners. Iowa State University Extension’s guide to supplemental plant lighting explains why PPFD and daily light integral are more useful than human-vision measurements when planning plant light.
For an installed system, create a repeatable grid:
Uniformity can be expressed in several ways, so state the method. A simple minimum-to-average ratio highlights weak areas; maximum-to-minimum or coefficient-of-variation calculations answer different questions. The purpose is not to chase a perfect number—it is to find whether meaningful sections of the canopy are under- or over-supplied.
PPFD is an instantaneous measurement. DLI represents the accumulated photosynthetic photons delivered over the day. For a constant electric-light level:
DLI (mol/m²/day) = PPFD (µmol/m²/s) × operating hours × 0.0036
This relationship lets designers compare a higher PPFD for fewer hours with a lower PPFD for longer, subject to crop physiology and operational constraints. Virginia Tech’s DLI guide explains the calculation and why greenhouse plans must account for sunlight transmitted through the structure.
Use measured average PPFD for planning, then consider the distribution underneath that average. Two rooms can have the same calculated DLI while one contains damaging hotspots and weak perimeter zones.
There is no universal rule that a fixture of a certain wattage must be spaced a fixed number of feet apart. Optics, emitting area, output setting, ceiling height, crop plane and neighboring luminaires all change the answer.
| Design change | Typical effect | What to verify |
|---|---|---|
| Lower the fixture | Higher peak PPFD and a narrower footprint | Hotspots, crop clearance and reduced edge uniformity |
| Raise the fixture | Broader distribution with lower intensity | Whether target PPFD remains achievable and whether light reaches aisles |
| Reduce spacing | More overlap and potentially higher average PPFD | Excess intensity, electrical load and unnecessary fixture count |
| Increase spacing | Lower overlap and capital cost | Dark seams, edge falloff and production inconsistency |
| Dim the grid | Reduces output without changing physical geometry | Measured PPFD, DLI, environmental response and control compatibility |
Start with manufacturer data or a photometric model, then validate a representative bay before deploying the full facility. In larger rooms, include neighboring fixtures in the test: overlap that does not appear in a single-fixture map can materially change the installed result.
Perimeter plants receive less contribution from neighboring fixtures than plants in the center of a grid. Walls, curtains and reflective surfaces can return some photons, but their condition, color and distance affect the result. Corners often require different attention from internal bays.
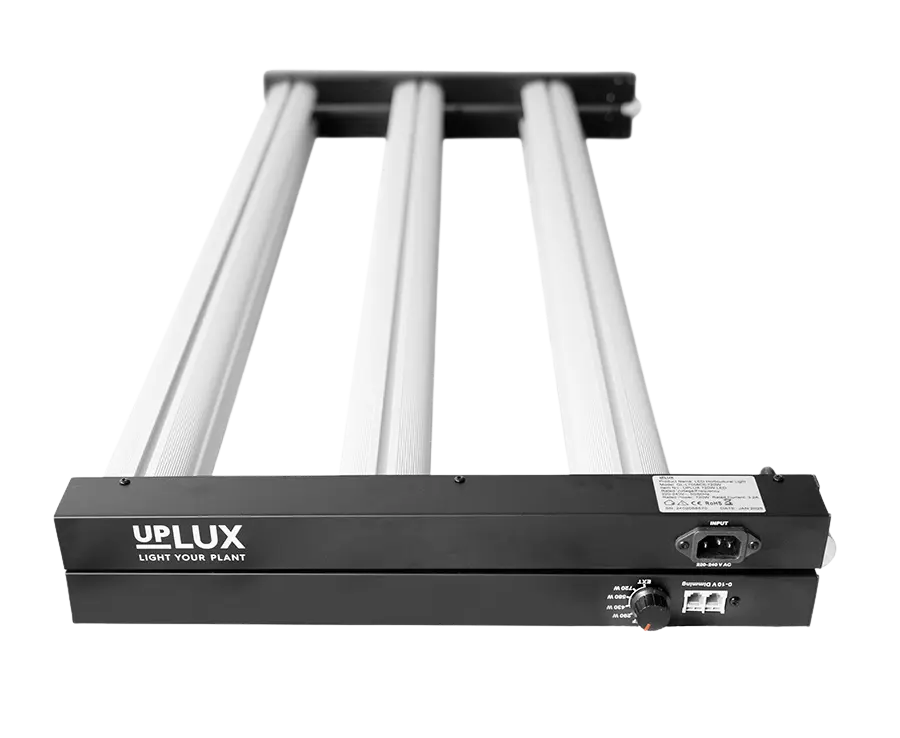
UPLUX offers two professional spider-style options with different power classes:
Do not choose between them on wattage alone. Compare the current technical data, planned fixture count, installed PPFD distribution, input circuits, controls and heat load. The commercial LED grow light buyer’s guide provides a complete procurement checklist.
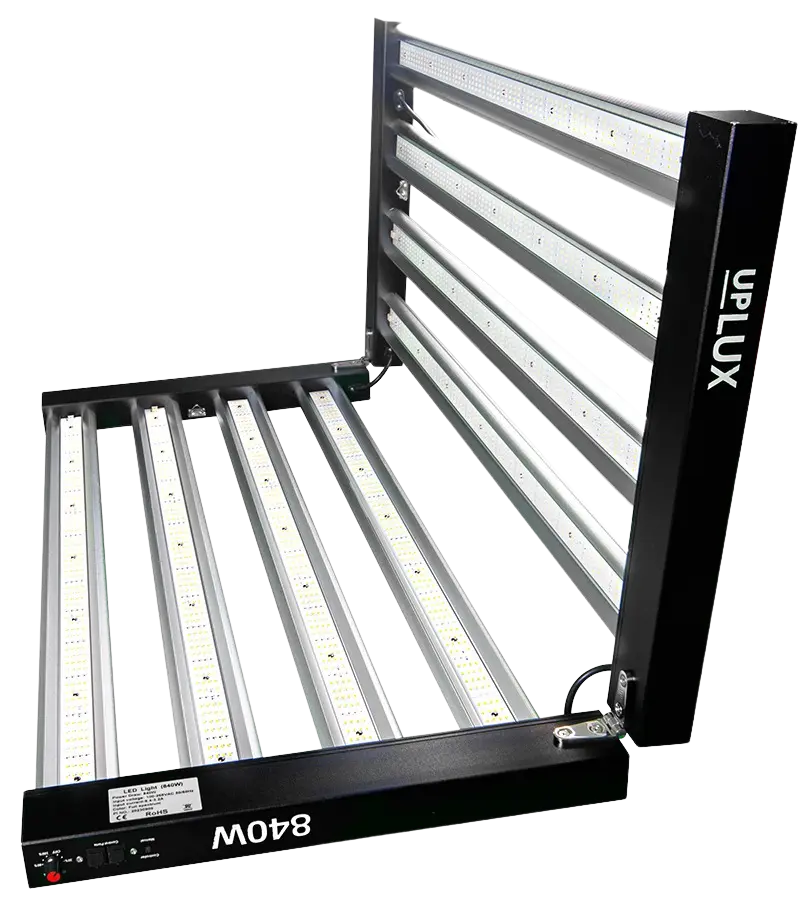
A fixed layout can serve multiple crop stages when the fixtures and control system support appropriate dimming. The UPLUX Controller supports 0–10V and PWM control, Auto Pilot, daily and custom schedules, sunrise/sunset ramping, temperature protection and temperature/humidity sensor support. One controller can manage up to 30 compatible linked fixtures.
Centralized control improves repeatability and reduces manual adjustment, but it does not create independent zones unless the installed controller architecture explicitly supports them. The approved UPLUX documentation does not verify dual-zone, multi-zone or multi-room control. Read the centralized grow light control guide for the verified functions and commissioning sequence.
Dense plant architecture can leave lower sections shaded even when the overhead map is strong. Under-canopy lighting is a supplemental layer—not a replacement for a correctly designed overhead system. It should be evaluated by crop structure, lower-canopy objectives, physical clearance, moisture exposure, worker access and measured response.
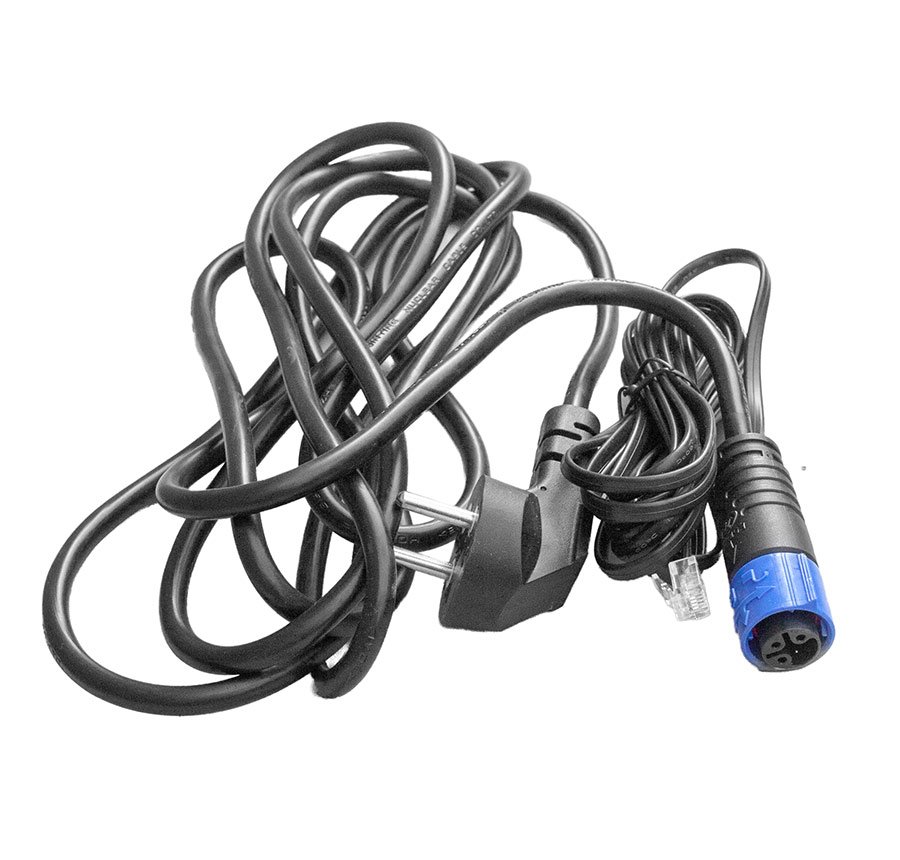
The UPLUX Under Canopy 120W delivers 360 µmol/s PPF at 3.0 µmol/J PPE, supports 120–277 VAC and 0–10V control, and carries IP65, ETL, CE and UKCA documentation. Those verified characteristics make it a strong candidate for professional lower-canopy supplementation where the installation plan supports it.
Multiply actual input watts by fixture count to establish connected lighting load, then apply the planned dimming schedule for energy modeling. Circuit design must also consider voltage, current, continuous loading, switching, inrush behavior, cable routing and local electrical requirements. Use a qualified electrical professional and the current product documentation for final design.
Do not treat efficient LEDs as heat-free. Nearly all electrical input ultimately enters the facility as heat. Coordinate fixture load with HVAC or greenhouse ventilation, dehumidification, airflow and plant transpiration. A lighting change can alter temperature and humidity behavior even when canopy PPFD is correct.
After planting, repeat a smaller representative measurement as the canopy height and density change. Preserve the grid, settings and results so future production teams can distinguish a lighting change from an agronomic or environmental change.
A high-performance room is created by measured distribution and disciplined system integration—not a single maximum reading. For fixture selection, quantities, controls or a commercial layout discussion, contact UPLUX with the canopy dimensions, available mounting height, input voltage and production objectives.
Compare PPF, PPE, PPFD, controls, certifications and operating costs to choose professional LED grow lights for commercial cultivation.
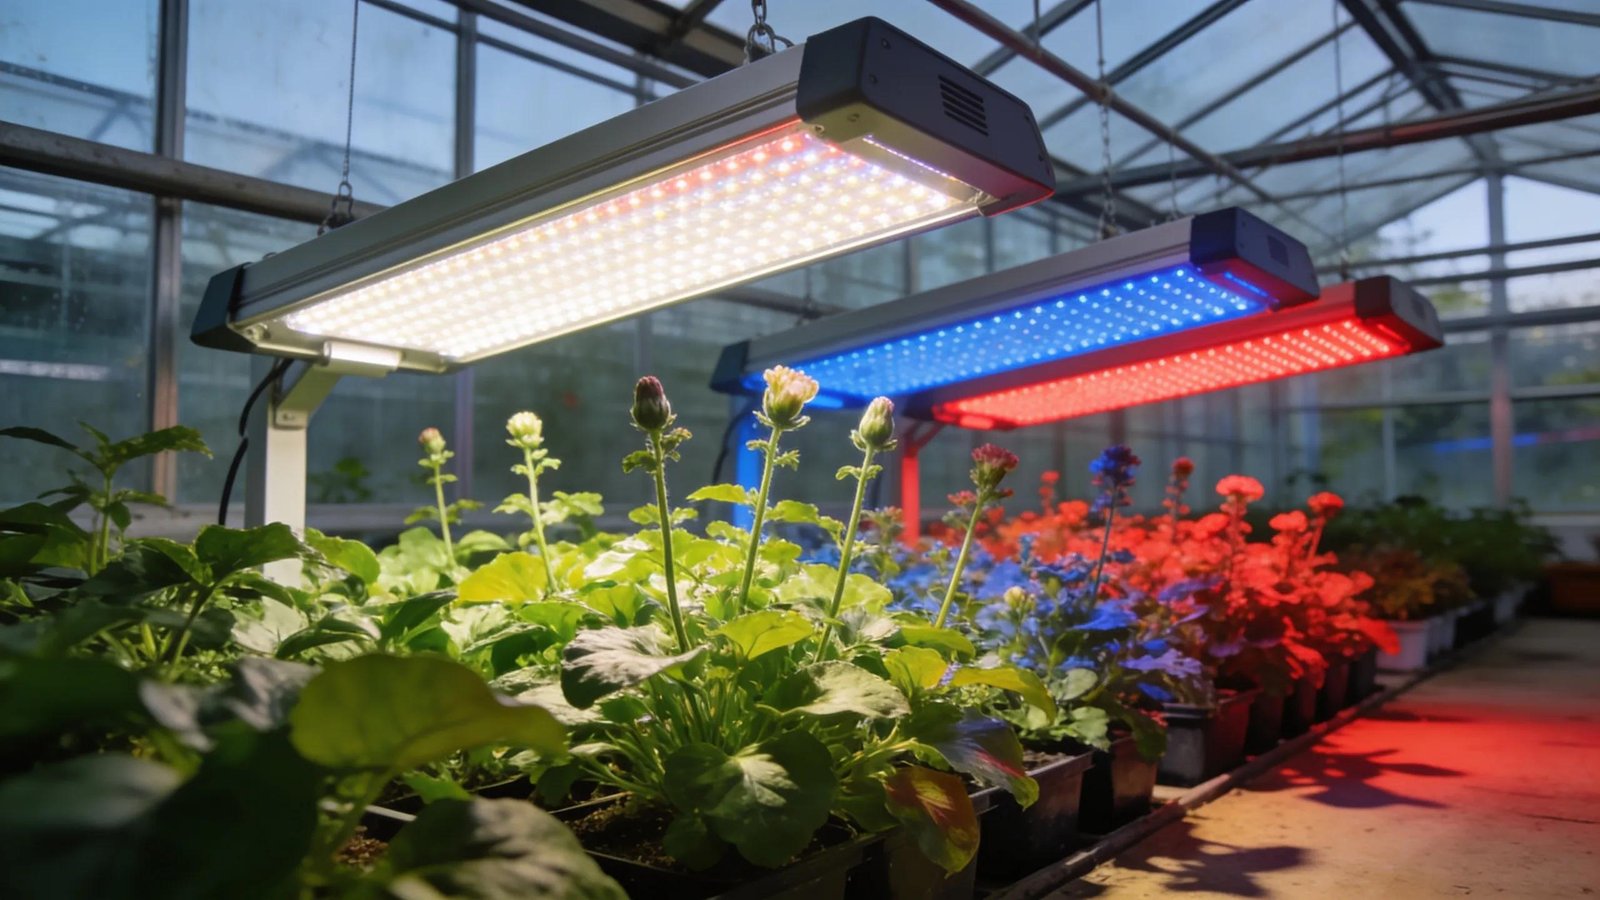
Understand full-spectrum and targeted-spectrum grow lights, PAR, PPFD and how spectrum, intensity and photoperiod shape commercial crop response.
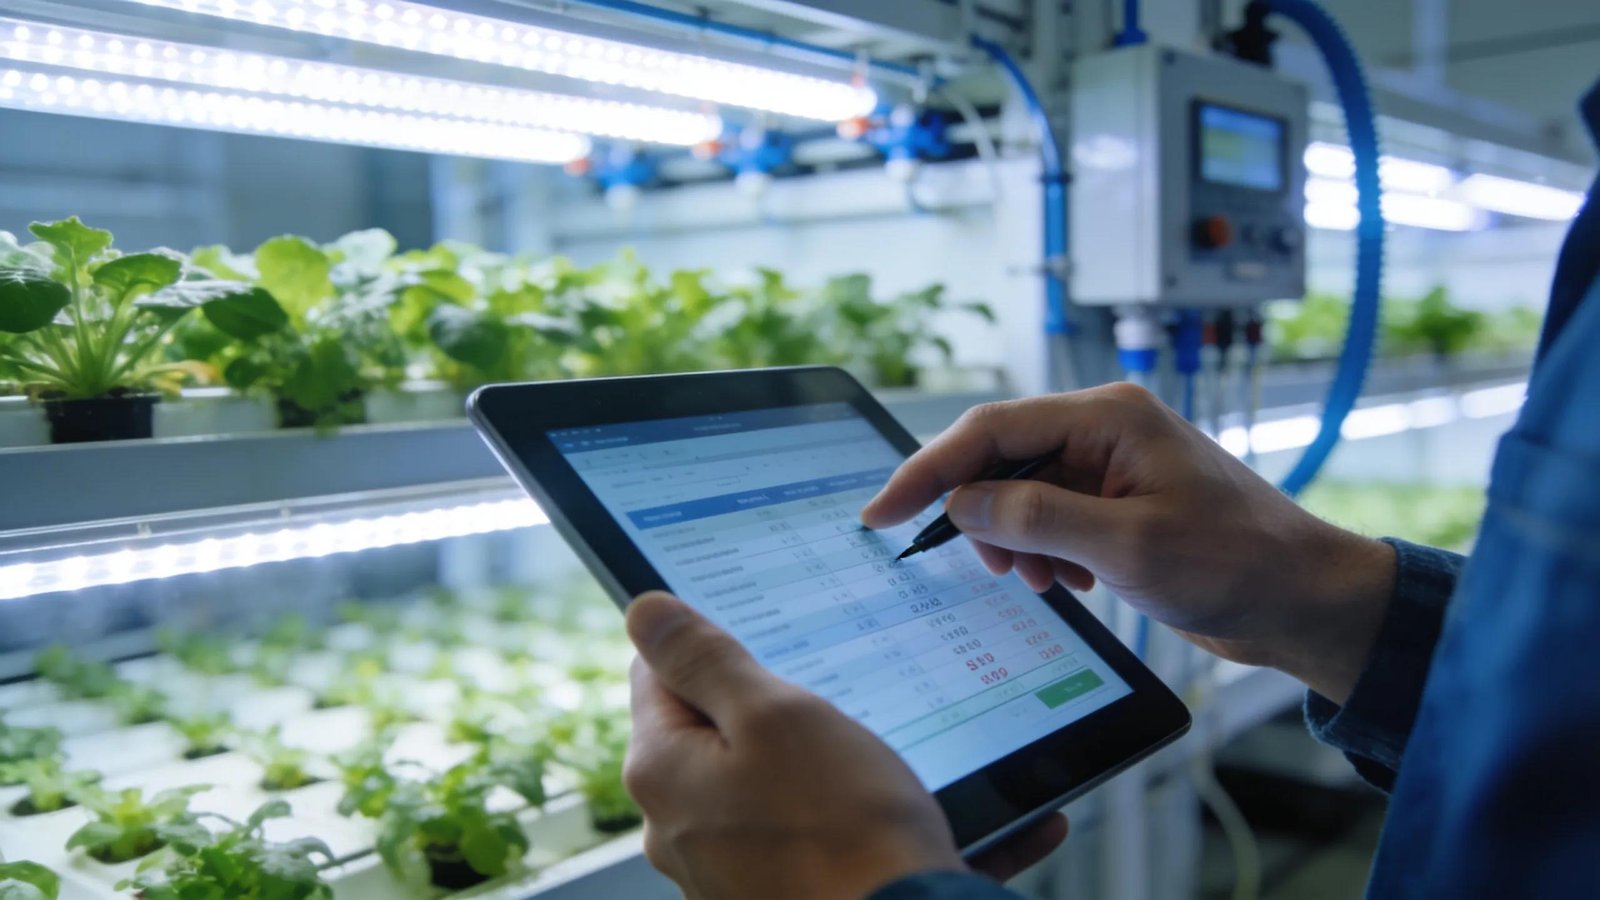
Learn how 0–10V dimming, Auto Pilot schedules, sunrise/sunset ramping and temperature protection simplify commercial grow-room lighting.