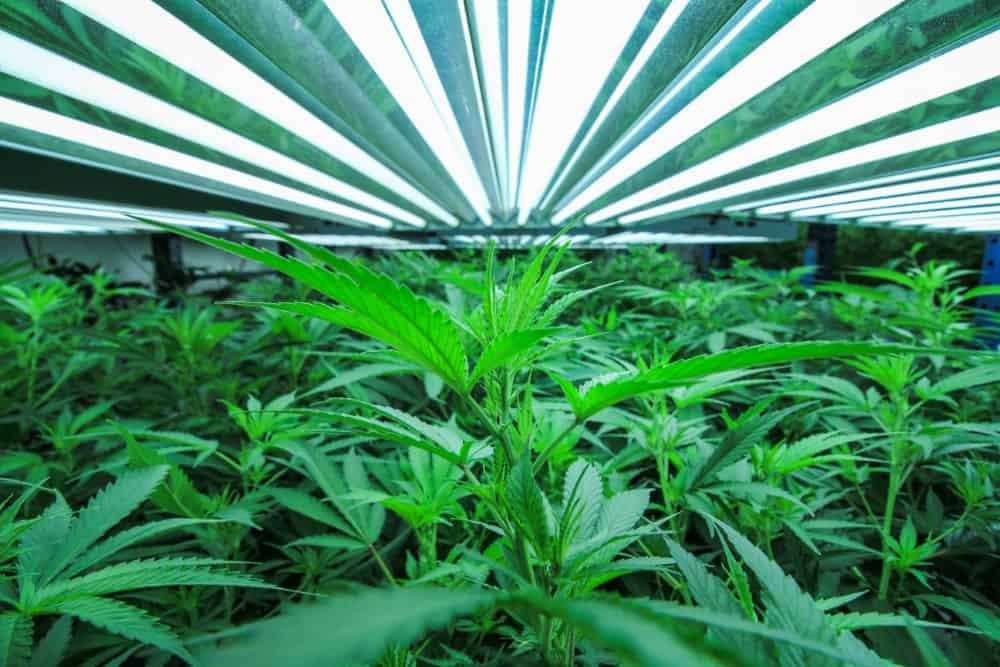
UPLUX 720 vs 840 LED Grow Light: Which Fixture Fits Your Grow?
Compare the UPLUX 720 and 840 LED grow lights by power, efficiency, controls, cooling and installation needs to choose the right fixture.

Professional cannabis lighting is no longer a choice between “hot but powerful” HID fixtures and small, experimental LEDs. Modern horticultural LED systems are established tools for commercial cultivation, giving growers precise control over light intensity, photoperiod and canopy uniformity. The right system starts with a light plan—not a wattage headline.
This guide explains the measurements that matter, practical starting points for vegetative and flowering rooms, and how to match an UPLUX fixture and controller to the cultivation area. Every room, cultivar and climate strategy is different, so verify performance at the actual canopy before locking in a recipe.
Watts describe electrical input. They do not tell you how many useful photons reach the plants or how evenly those photons are distributed. A professional light plan uses three core measurements:
DLI connects intensity and time: DLI = PPFD × hours of light × 0.0036. For example, 300–600 µmol/m²/s over 18 hours equals approximately 19.4–38.9 mol/m²/day. At 600–1,000 µmol/m²/s over 12 hours, the calculation is approximately 25.9–43.2 mol/m²/day. These are planning illustrations, not universal prescriptions.
Measure at multiple points across the real canopy. Average PPFD matters, but so do the minimum, maximum and edge readings. A single bright centre measurement can hide weak borders and hotspots. Fixture spacing, hanging height and dimming should be adjusted together to improve uniformity.
Plants need time to acclimate to higher intensity. A cautious commissioning approach starts lower, observes plant response and raises output in controlled steps. Useful professional starting ranges include:
Photoperiod-sensitive cannabis is commonly maintained under a long day during vegetative growth—often 18 hours of light—and moved to around 12 hours of light with 12 hours of uninterrupted darkness for flowering. Treat this as an operating baseline rather than a guarantee of cycle length. Genetics, plant health, temperature, humidity, irrigation, nutrition and root-zone conditions all affect the result.
Start with the cultivation footprint, target intensity and uniformity, mounting limits, power availability and HVAC capacity. Then compare verified output, photon efficacy, spectrum, light distribution, dimming and electrical safety. “Equivalent wattage” is not a substitute for a PPFD map.
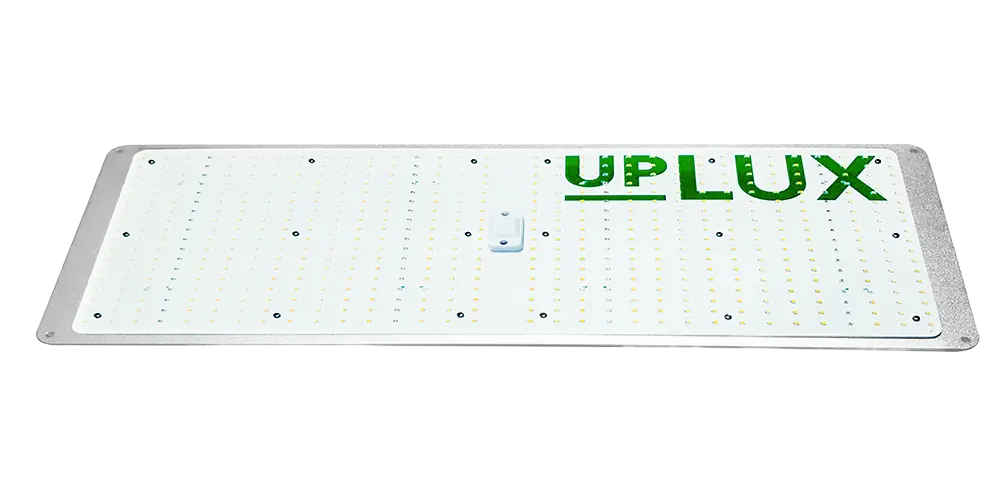
A compact option for smaller cultivation areas, propagation, vegetative work or other applications where its verified coverage map matches the target PPFD. It can also fit multi-zone projects that benefit from independent fixture placement.
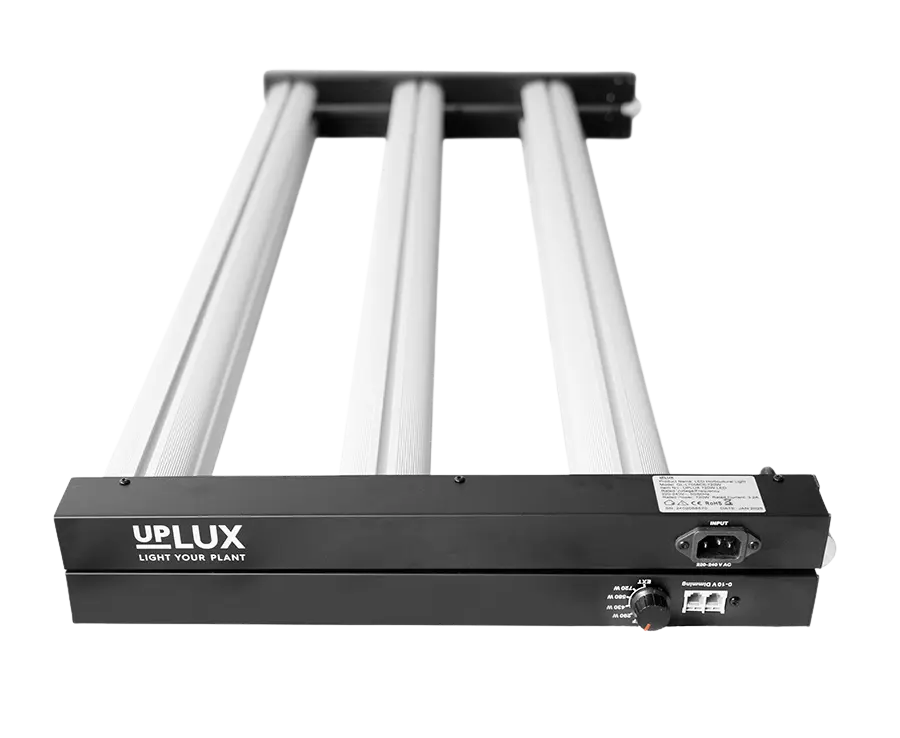
A high-output spider-style fixture for larger indoor canopies, greenhouse benches and professional controlled-environment projects. Use the current photometric plan to determine fixture count, spacing, height and dimming level for the room.
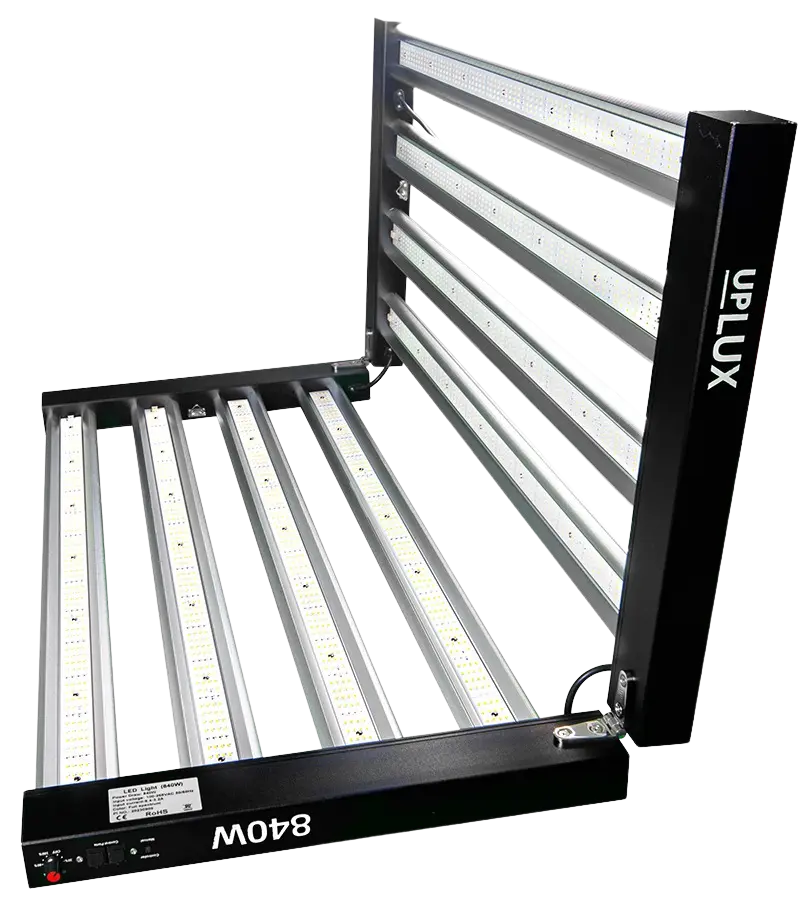
A higher-output option for demanding projects where the room design, plant density and environmental capacity call for more available light. Select it because its measured distribution fits the plan—not because more watts automatically mean a better crop.
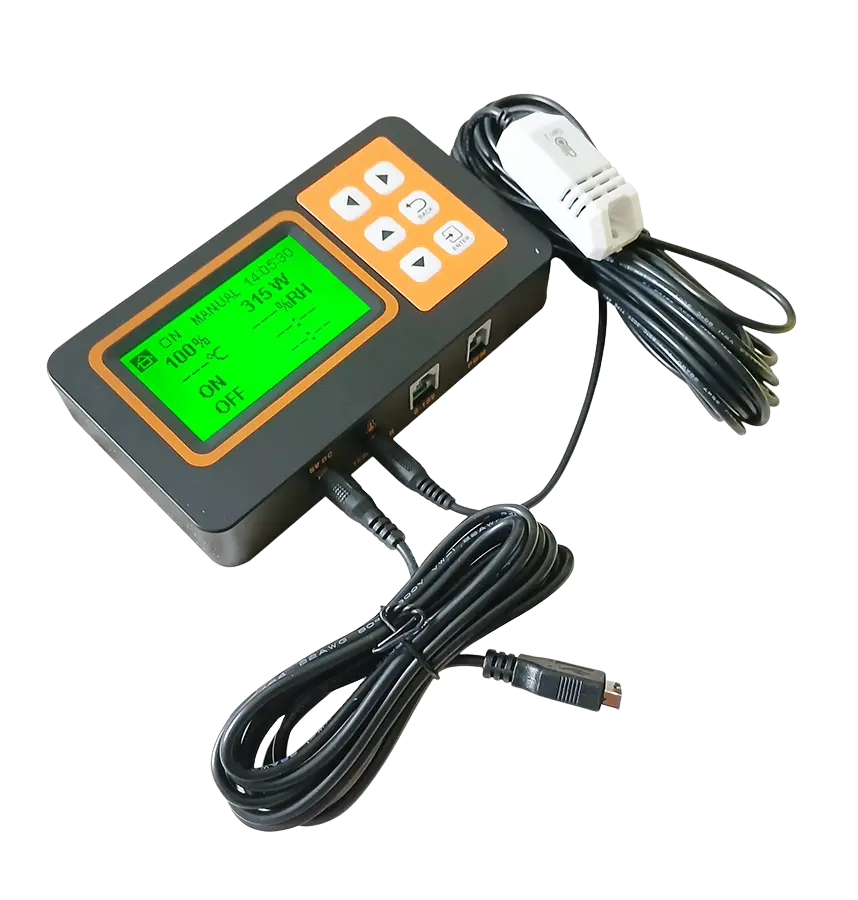
The UPLUX Controller supports structured scheduling and dimming, making it easier to acclimate plants gradually, manage zones and repeat a proven operating plan. Automation does not replace canopy measurements; it makes a validated plan easier to apply consistently.
For a deeper look at specification quality, read the commercial buyer’s guide to professional LED grow lights. To plan spectrum decisions, see full-spectrum versus targeted-spectrum horticultural lighting. For room-level automation, see the guide to centralized LED grow-light control.
There is no single correct hanging height for every fixture and room. Lowering a light can increase peak PPFD while reducing distribution uniformity; raising it can improve blending but lower intensity. Start with the current manufacturer light plan, then measure on a grid at the crop’s real canopy height.
Higher PPFD increases the demand placed on the rest of the cultivation system. Cooling, dehumidification, airflow, irrigation and—where legally and professionally managed—CO₂ strategy must be considered alongside lighting. Monitor temperature and humidity at crop level, not only at a distant wall sensor.
LED fixtures generally reduce radiant heat compared with legacy HID systems and can improve controllability, but electrical input still becomes heat in the room. Size the environmental system for the installed load and crop transpiration. A high-output light should not be operated beyond what the room can support.
Professional horticultural LED is a mature, widely adopted technology for indoor farms and controlled-environment agriculture. Compared with legacy HPS installations, current LED systems can provide higher photon efficacy, controllable output, broad or targeted spectra, improved distribution and less radiant heat at the canopy.
The correct business comparison is not simply fixture price or nominal watts. Compare verified PPF and PPE, the full PPFD map, expected operating hours, controls, HVAC implications, installation requirements, warranty and support. These factors determine total cost of ownership and operating flexibility.
A light plan should create repeatable conditions—not promise a fixed yield, potency or cycle time. Those outcomes depend on genetics and the complete cultivation environment.
For fixture selection, larger quantities or a commercial cultivation project, contact UPLUX. Share the canopy dimensions, crop stage, target PPFD, mounting constraints and environmental capacity so the recommendation can be based on the room—not on guesswork.
Compare the UPLUX 720 and 840 LED grow lights by power, efficiency, controls, cooling and installation needs to choose the right fixture.
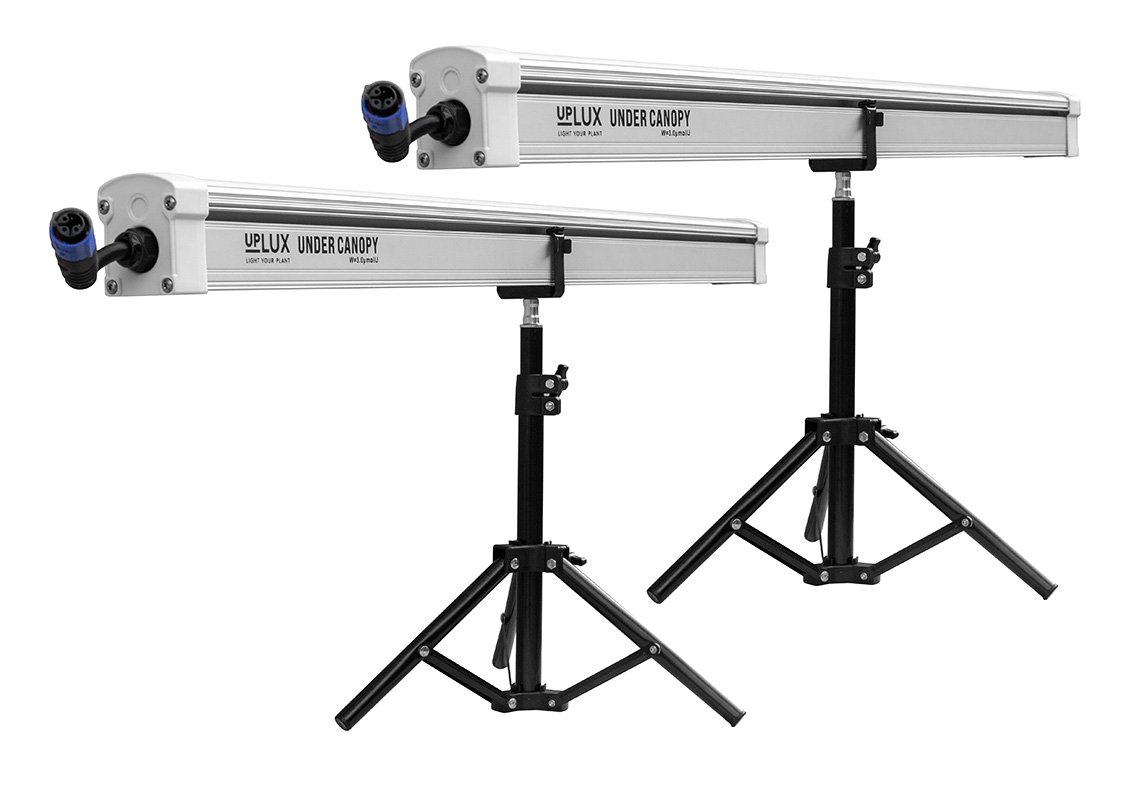
UPLUX under canopy grow lights deliver targeted illumination to lower plant zones, eliminating larf and boosting bud density for higher yields.
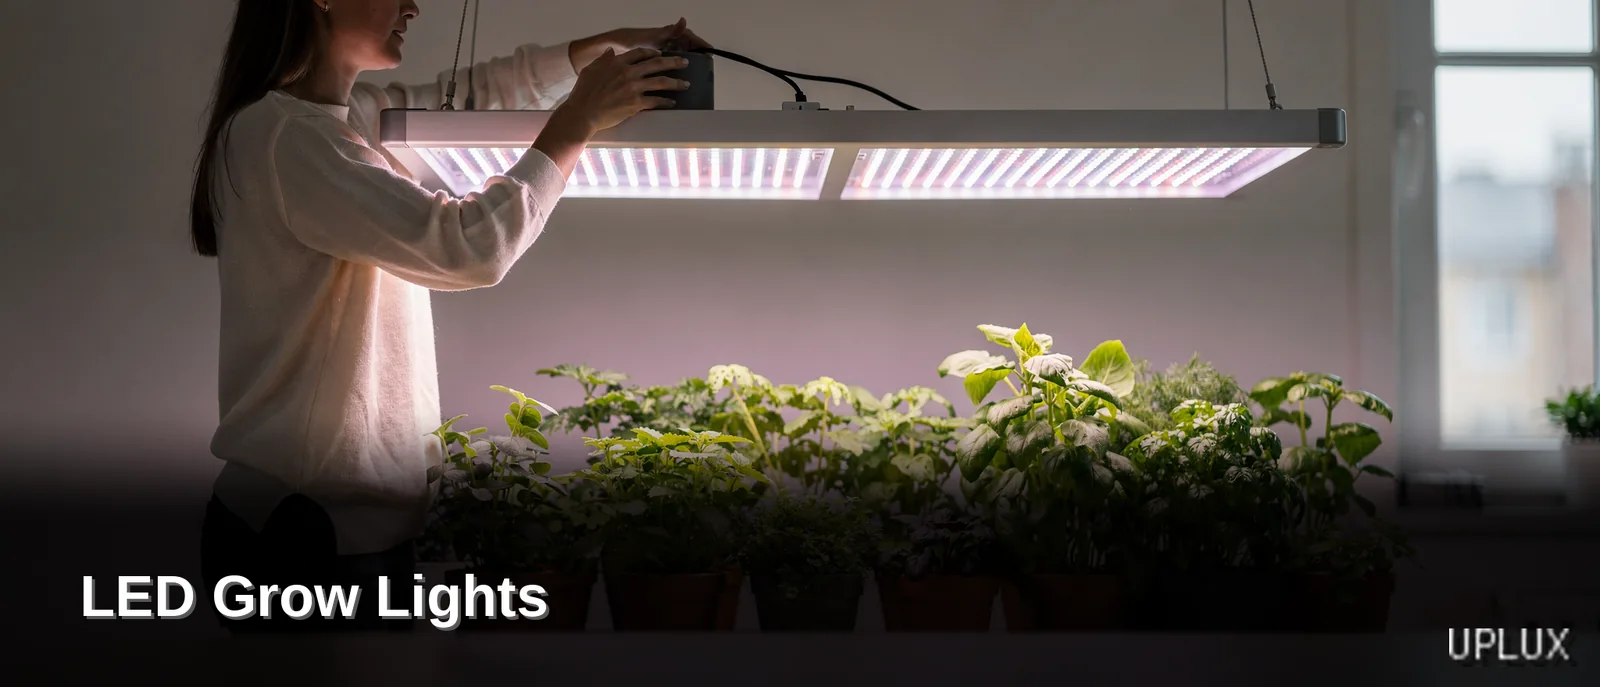
Learn how to compare LED grow lights by PPF, PPFD, PPE, spectrum, form factor, controls and operating cost—and explore verified UPLUX fixtures.